
Who doesn't love a big, glorious pompom!? Actually, they don't have to be big to be fabulous, small pompoms are very often just the thing to spruce up a baby knit, so I don't discriminate by size. I'll take my pompoms small, medium or large, thank you very much! As long as they are fluffy, they are fantastic in my books. So, what's my secret for gorgeous, super fluffy, super awesome pompoms every time? Check out this tutorial for all the details on how I pompom:
(warning, I use "pompom" as a verb frequently in this tutorial, also, I use a lot of exclamation points, but how could you not when you're talking about pompoms!?)
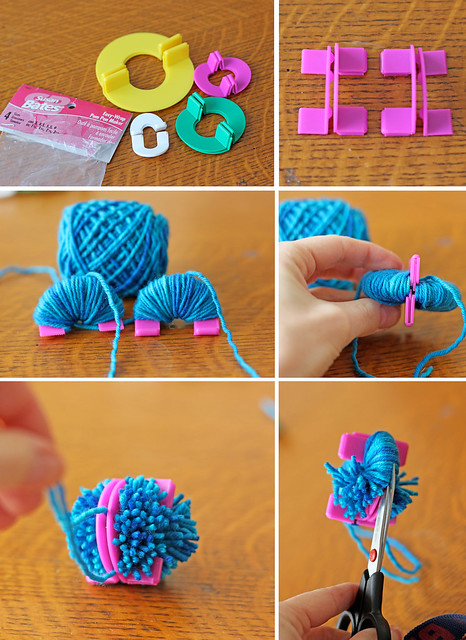
1 :: I use a pompom maker. Absolutely not a necessary tool, you can make perfect pompoms by wrapping the yarn around just your fingers or a piece of card board. But I have this one and I love it. It requires a lot less trimming and fussing and makes really lovely and round pompoms in a variety of sizes every time. If you love to pompom as much as I do, it's worth the couple bucks.
2 :: Simply follow the instructions, wrapping the yarn around the two halves of the pompom maker, then fitting them together, cutting your loops and tying it off in the center. For the tying off part I almost always enlist the help of another person, pompom making is made a lot easier if you have 4 hands!
When that's all done, voila! A very respectable pompom:
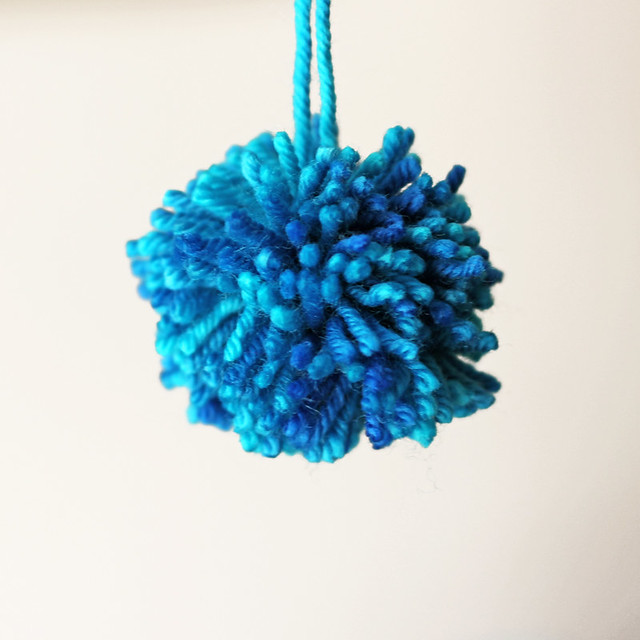
In the picture above, and in the picture below, the pompoms haven't had any extra trimming. See what I mean about how the pompom maker helps to minimize trimming? It's almost a perfect sphere as is.
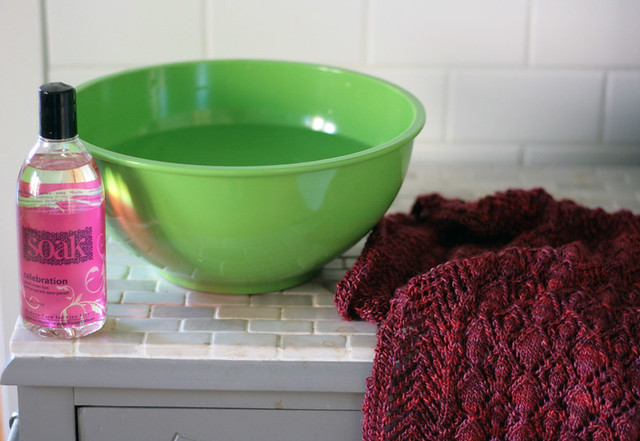
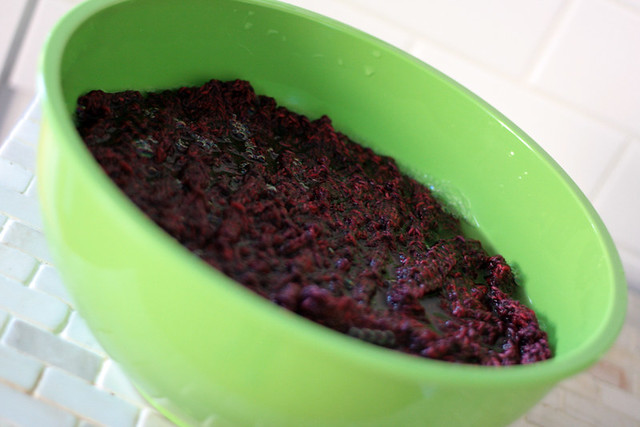
3 :: Next is my secret step. The step that takes a "perfectly respectable" pompom over the top to pompom perfection! Soak the pompoms in lukewarm water until they are completely saturated. About 20 minutes.
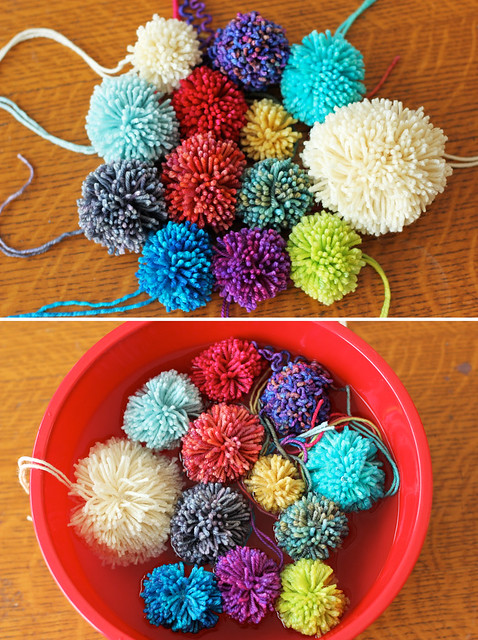
4 :: When they are thoroughly soaked, squeeze them out, put them in a mesh dryer bag, and throw them in a hot dryer to tumble dry for 30 minutes or until they are completely dry. I really have to emphasize the mesh bag for this step, you know the kind that you might use to wash pantyhose and such? In case one of your pompoms doesn't make it through to the other side this will save you from having to pick out hundreds of little pieces of yarn from your dryer. You see that lovely Lemongrass pompom up there? Sadly, it didn't make it. In putting together this tutorial I experimented with Green Label, Yellow Label and Orange Label pompoms, the Orange Label did not hold together well. I'd recommend sticking with wool yarns for this method, the cashmere and silk in the Orange Label seem to make the pompom too slippery to hold up to the tumble drying. Even though Green Label and Yellow Label are superwash wool, which is much more slippery than non-superwash wool, it's got just enough stick to not give you any trouble in the dryer. This is also where that second pair of hands is useful, you can cinch the pompoms much tighter with a little bit of help.
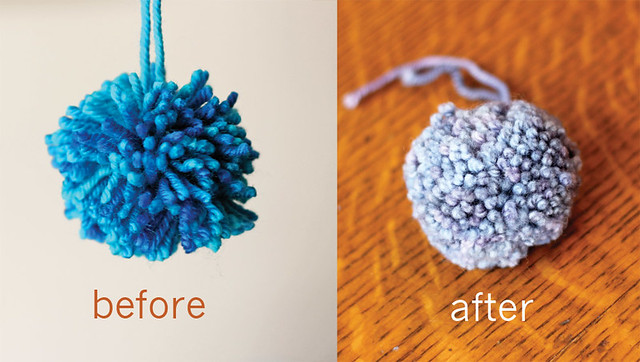
On the left in the above image is the pre-tumble dried pompom, and on the right is one fresh out of the dryer. Big difference right? It just looks so much fluffier and full of life. The dryer takes all those snipped ends of yarn and separates the plies to give you a really healthy looking pompom.
So there you have it. My pompom secrets revealed! I Hope you'll give this method a try the next time you've got a knit that needs a bit of embellishment. Happy pompom Wednesday everyone!